How to Create and Use Amazon Machine Images (AMI) 🖥️☁️
What is an AMI? 🤔
An Amazon Machine Image (AMI) is essentially a blueprint for your instances on Amazon Web Services (AWS). Think of it as a snapshot of your setup, which you can use to create multiple instances with the same configuration. This makes scaling your infrastructure super easy! 🌱✨
How to Create an AMI Image? 🛠️
Step 1: Create an Instance
- Launch an Instance:
- Configurations
- Name:
webserver🖥️ - Operating System: Ubuntu 🐧
- Key Pair: Select or create a key pair 🔑
- Security Group: Create a new security group named
webserver🔒 - Rules: Allow ports 22 (SSH) and 80 (HTTP) 🌐
3. Set Inbound Rules:
Edit inbound rules to allow HTTP traffic from anywhere. 🌍
4. Advanced Details:
Insert a Shell Script in user data while launching Instance📜
#!/bin/bash
sudo apt update
sudo apt install wget net-tools unzip figlet apache2 -y
sudo systemctl start apache2
sudo systemctl enable apache2
mkdir -p webfiles
cd webfiles
sudo wget https://www.tooplate.com/zip-templates/2118_chilling_cafe.zip
sudo unzip -o 2118_chilling_cafe.zip
sudo rm -rf /var/www/html/*
sudo cp -r 2118_chilling_cafe/* /var/www/html/
cd ..
sudo rm -rf webfiles
sudo systemctl restart apache2
figlet done
5. Launch:
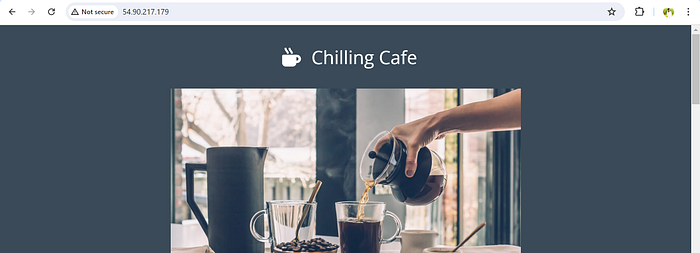
Once the instance is running, you should be able to see your website. 🎉


Step 2: Create the AMI Image
- Go to Your Instance:
- Select the instance you just created. 🖱️
- Click on
Actions>Image and templates>Create image. 🖼️
2. Configure the Image:
- Image Name:
chilling cafe☕ - Description:
webserver📝 - Tags: Add tags, e.g., Name:
chilling cafe, Type:webserver. 🏷️
3. Create Image:
- Click
Create Imageand wait a few minutes for the process to complete. ⏳

You should now have an AMI snapshot of your instance! 📸
Using Your AMI to Launch a New Instance 🚀
- Launch New Instance:
- Use the AMI you just created (
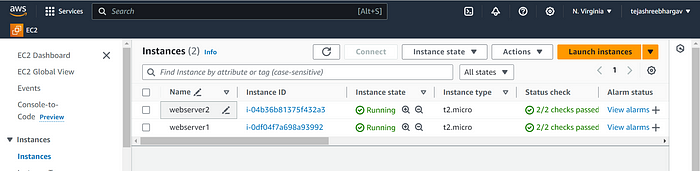
chilling cafe) to launch a new instance. 📂 - Instance Name:
webserver2🖥️ - Operating System: Select Ubuntu from
My AMIs. 🐧
2.Launch:
- Complete the launch process and you should see the same website as before. 🌐✨
Creating a Load Balancer ⚖️
Step 1: Create a Security Group for ELB
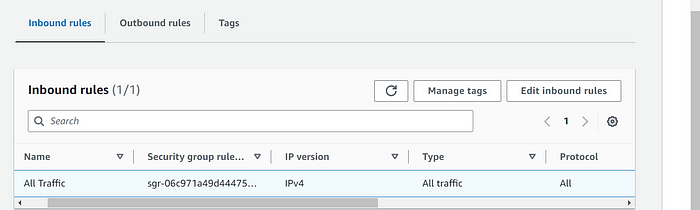
- Security Group Name:
ELB🔐 - Inbound Rules: Allow all traffic. 🌍
Step 2: Configure Webserver Security Group
- Add Inbound Rule:
- Allow traffic from the ELB security group. 🔄
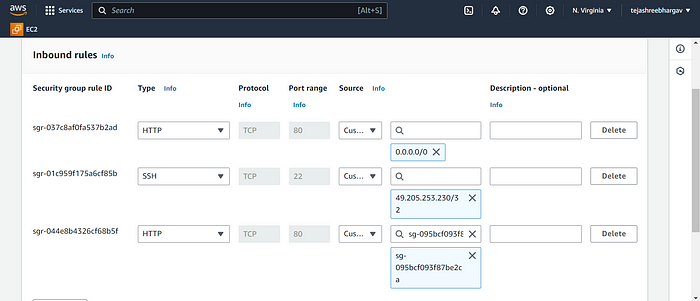
- Name:
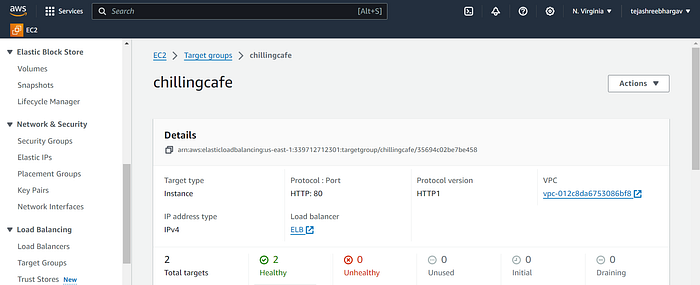
elb⚖️ - Target Groups:
- Name:
chilling cafe☕ - Instances: Include your instances (
webserverandwebserver2). 🖥️🖥️ - Health Checks: Ensure targets are healthy. ✅
3.Network Mapping:
- Use at least three availability zones (e.g.,
us-east-1b,us-east-1c,us-east-1e). 📡
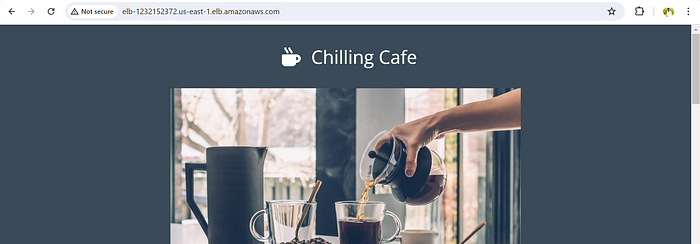
4.DNS Name:
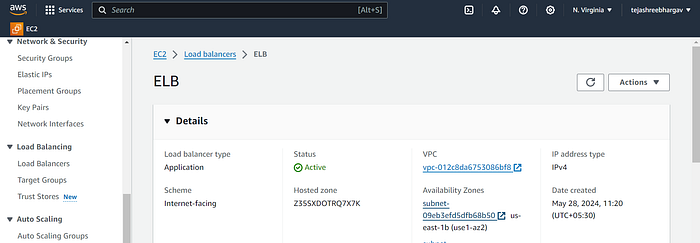
- Once everything is set up and healthy, take the DNS name of your load balancer and place it in a new tab. You should see your website! 🌐🎉
Adding a CNAME Record in GoDaddy 🏷️🌐
Step 4: Link Your Domain Name
1.Log in to GoDaddy:
- Navigate to your domain management page. 🛠️
- Select your domain,
bhargav.life. 🌐
2.Create a CNAME Record:
- Host:
coffee☕ - Value: Paste the DNS name of your ELB here. 🔗
- This will map
coffee.bhargav.lifeto your load balancer. 🌍
3.Save Changes:

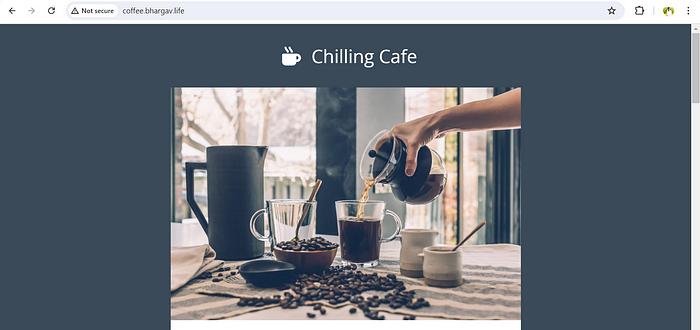
- Save the CNAME record and wait for DNS propagation. This can take a few minutes to a few hours. ⏳
Once propagated, you can access your website using coffee.bhargav.life. 🎉🌐
And there you have it! You’ve successfully created an AMI, used it to launch multiple instances, set up a load balancer to distribute traffic, and linked your custom domain. Happy cloud computing! ☁️🚀